ClearlyIP SIP Trunking: Enable SMS Messaging in 3CX
If you’re using ClearlyIP as your SIP trunking provider and 3CX as your PBX, how do you add SMS messaging functionality to your telecom solution? We have four easy steps to get you set up! With our straightforward setup process, you can start sending and receiving SMS messages in just a few simple steps. Let’s walk through the process together.
Please Note:
This requires a Brand and Campaign in order to operate. You can find the steps to create your Brand and Campaign in the link below.
Create Your Brand and Campaign
This requires a Brand and Campaign in order to operate. You can find the steps to create your Brand and Campaign in the link below.
Create Your Brand and Campaign
Enable SMS in 3CX
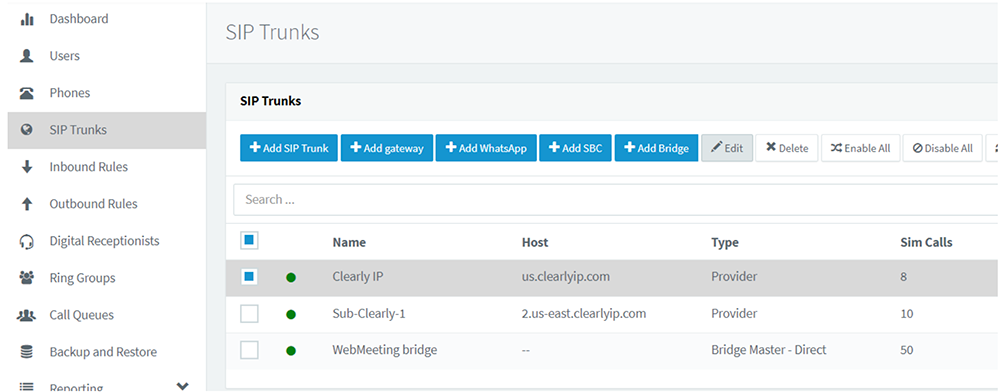
- Click: “SIP Trunks”
- Check the box next to the Clearly IP Trunk
- Click Edit at the top
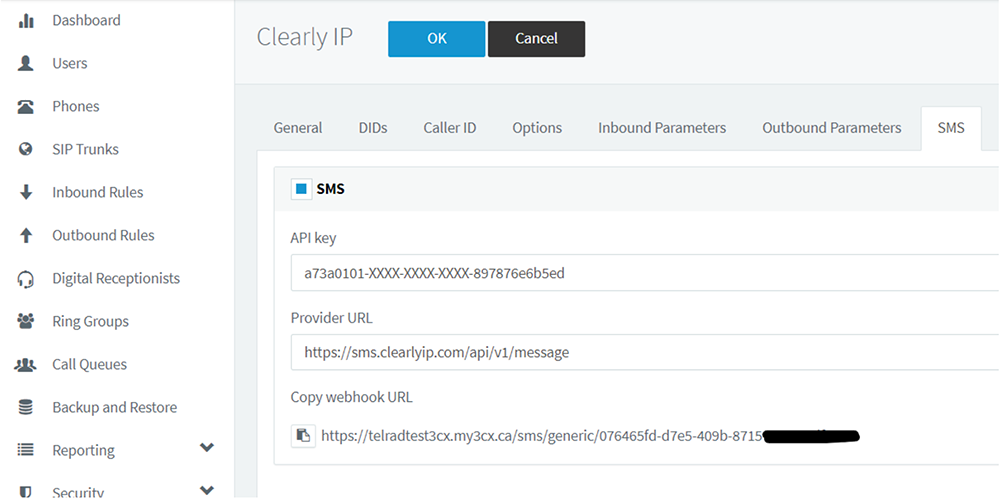
- Click the SMS tab
- Enable SMS by checking the box.
- API Key – This is the SIP Trunk Token, which can be found by editing the trunking location at https://trunking.clearlyip.com
- Provider URL – https://sms.clearlyip.com/api/v1/message
- Copy Webhook URL – You will need this to enter into the trunking DID at https://trunking.clearlyip.com.
- Click OK
Setup the Webhook URL
- Login at https://trunking.clearlyip.com
- Go to Products and Services, then Numbers.
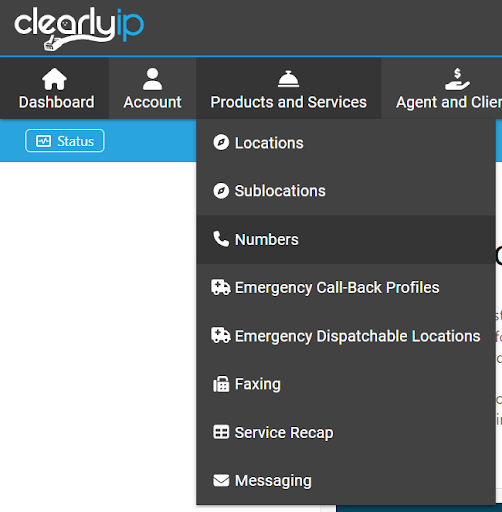
- Click on the Binoculars on the number you wish to enable SMS for. This can be repeated for any DIDs that will require SMS.
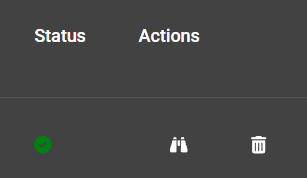
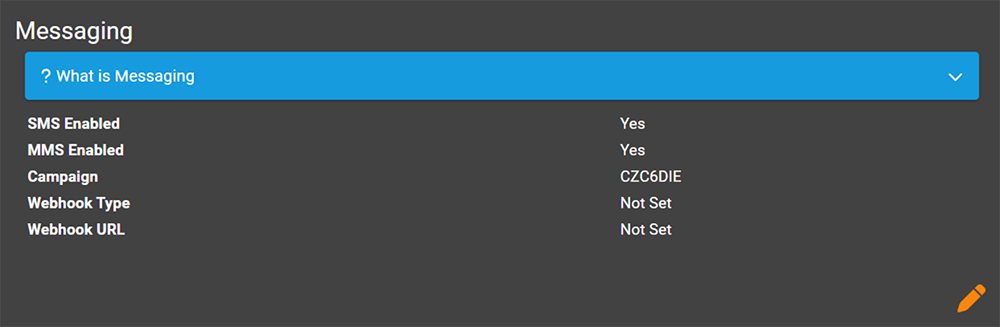
- Scroll down to the Messaging card and click on the pencil
- Toggle on the Enable SMS/MMS
- Select a Messaging Campaign
- For Webhook Type: select 3CX
- For Webhook URL: enter the Webhook URL copied from the SMS tab you saved above.
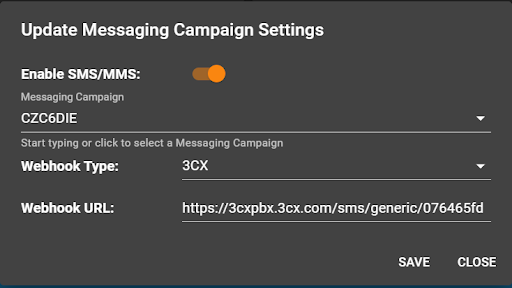
- Click SAVE when done.